Sketch out your message in pencil


Step-by-Step Directions
1. Find the right paper
It's important to find a large sheet of paper that is sturdy, but not too thick. The thicker the paper, the harder it is to fold. A 98 lb (160 gsm) sheet works well.
Many sizes will work, but for this tutorial, I’ve used a paper that’s 19.5” x 25.5” (50 cm x 65 cm). It’s the Canson Mi-Teintes Drawing Paper. Note, retailers list the size is 19” x 25” (483 mm x 635 mm) but upon measuring, it’s actually 19.5” x 25.5”.
I purchased a sheet from my local art supply store for approximately $2.80. You can also find the paper through various online retailers like Utrecht or Dickblick.
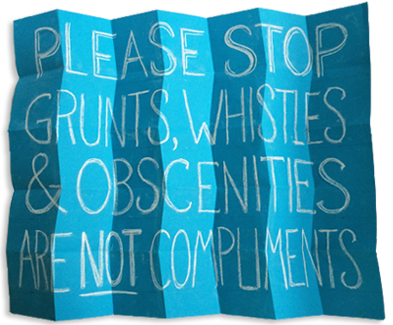
2. Draw out your message
Because I’m no expert at hand lettering, I sketched out the message in pencil first before using a more permanent medium. The Canson paper is great because it is suitable for pastel, oil pastel, chalk, pencil, watercolor, and acrylic. For pastels, chalk, pencil, or other mediums that have a tendency to rub off or smudge, you might want to spray the poster with a clear, matte (non-glossy) protective finish. The one I used is made by Krylon.
As a tip, you may want to consider the distance at which you want your message to be read. An accepted “rule-of-thumb” to follow for legibility is to have 1 inch (25 mm) of letter height for every 40 feet (12 m) of desired legibility.
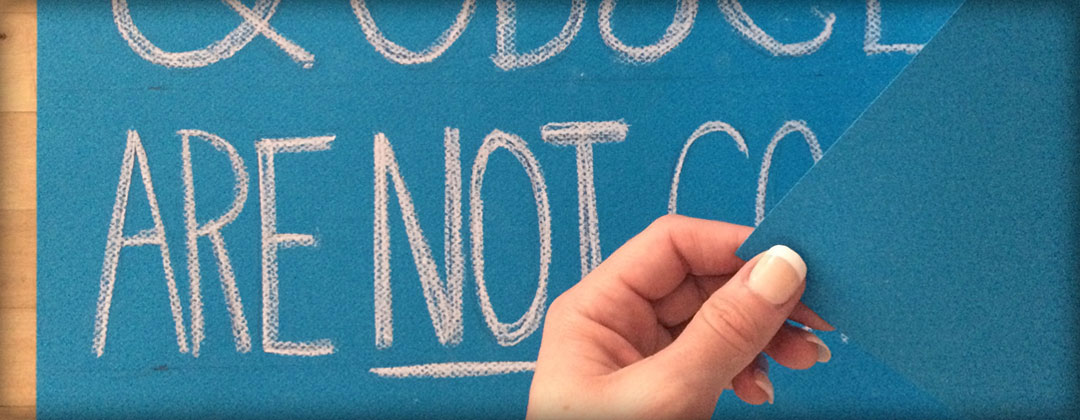
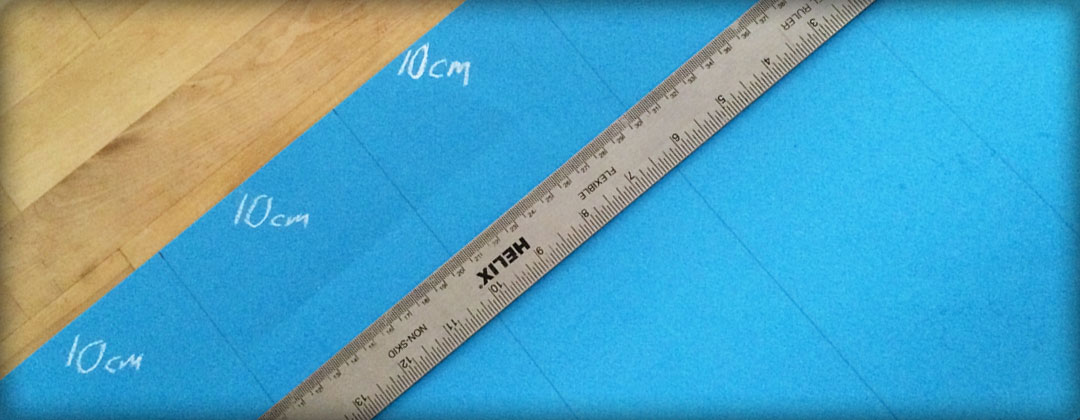
3. Divide the paper into 5 straight rows
Once you’ve completed your message, turn the paper over (as you would a page of a book). On the short (50cm) ends of the paper, make a mark at 10cm intervals. Connect the marks to create 5 uniform rows that are 10cm tall and run the length of the paper.
4. Divide the paper into 7 zigzagged columns
Along the top edge of the paper, the 4 lines you just drew, and the bottom edge, you will create marks of two different measurements (4 inches and 91 millimeters) that, once connected, will create vertical zigzagged columns.
Top edge: 4in, 91mm, 91mm, 91mm, 91mm, 91mm, 91mm
Row 1: 91mm, 91mm, 91mm, 91mm, 91mm, 91mm, 4in
Row 2: 4in, 91mm, 91mm, 91mm, 91mm, 91mm, 91mm
Row 3: 91mm, 91mm, 91mm, 91mm, 91mm, 91mm, 4in
Row 4: 4in, 91mm, 91mm, 91mm, 91mm, 91mm, 91mm
Bottom edge: 91mm, 91mm, 91mm, 91mm, 91mm, 91mm, 4in
5. Mark the Valley folds
Use a contrasting color to highlight all lines that will need to become valley folds… or simply write the letter “V” on the line in pencil. In my example, I used a yellow crayon to mark the lines as well as wrote a small “V”. All the lines that aren't marked will be mountain folds.

6. Start Folding!
Go to the folding instructions page and, starting with the 7th image in the slideshow, follow the remaining instructions to fold your beautiful creation! The only difference is that, when folding your homemade poster, you'll be folding from the back, following the lines you drew. Don't worry, I've flipped the lines in order to make this work.